
Managed Auth - Registeration
In order to create a Pay user in your environment, multiple steps need to happen. Since Vipaso uses a separate identity provider service, the user needs to be created there. The service works with flows, so the first step is to create one. Next, you need to verify the phone number using OTP verification. After successful verification, you gather information from your user, including name, phone number, and password. Finally, you decorate the request with this user information to complete the registration flow.
Overview
- Starting the Flow and Sending the OTP Code
- Verifying the OTP Code
- Decorating the Flow with User Information and Finalizing Registration
- Observing Authentication State Changes
1. Starting the Flow and Sending the OTP Code
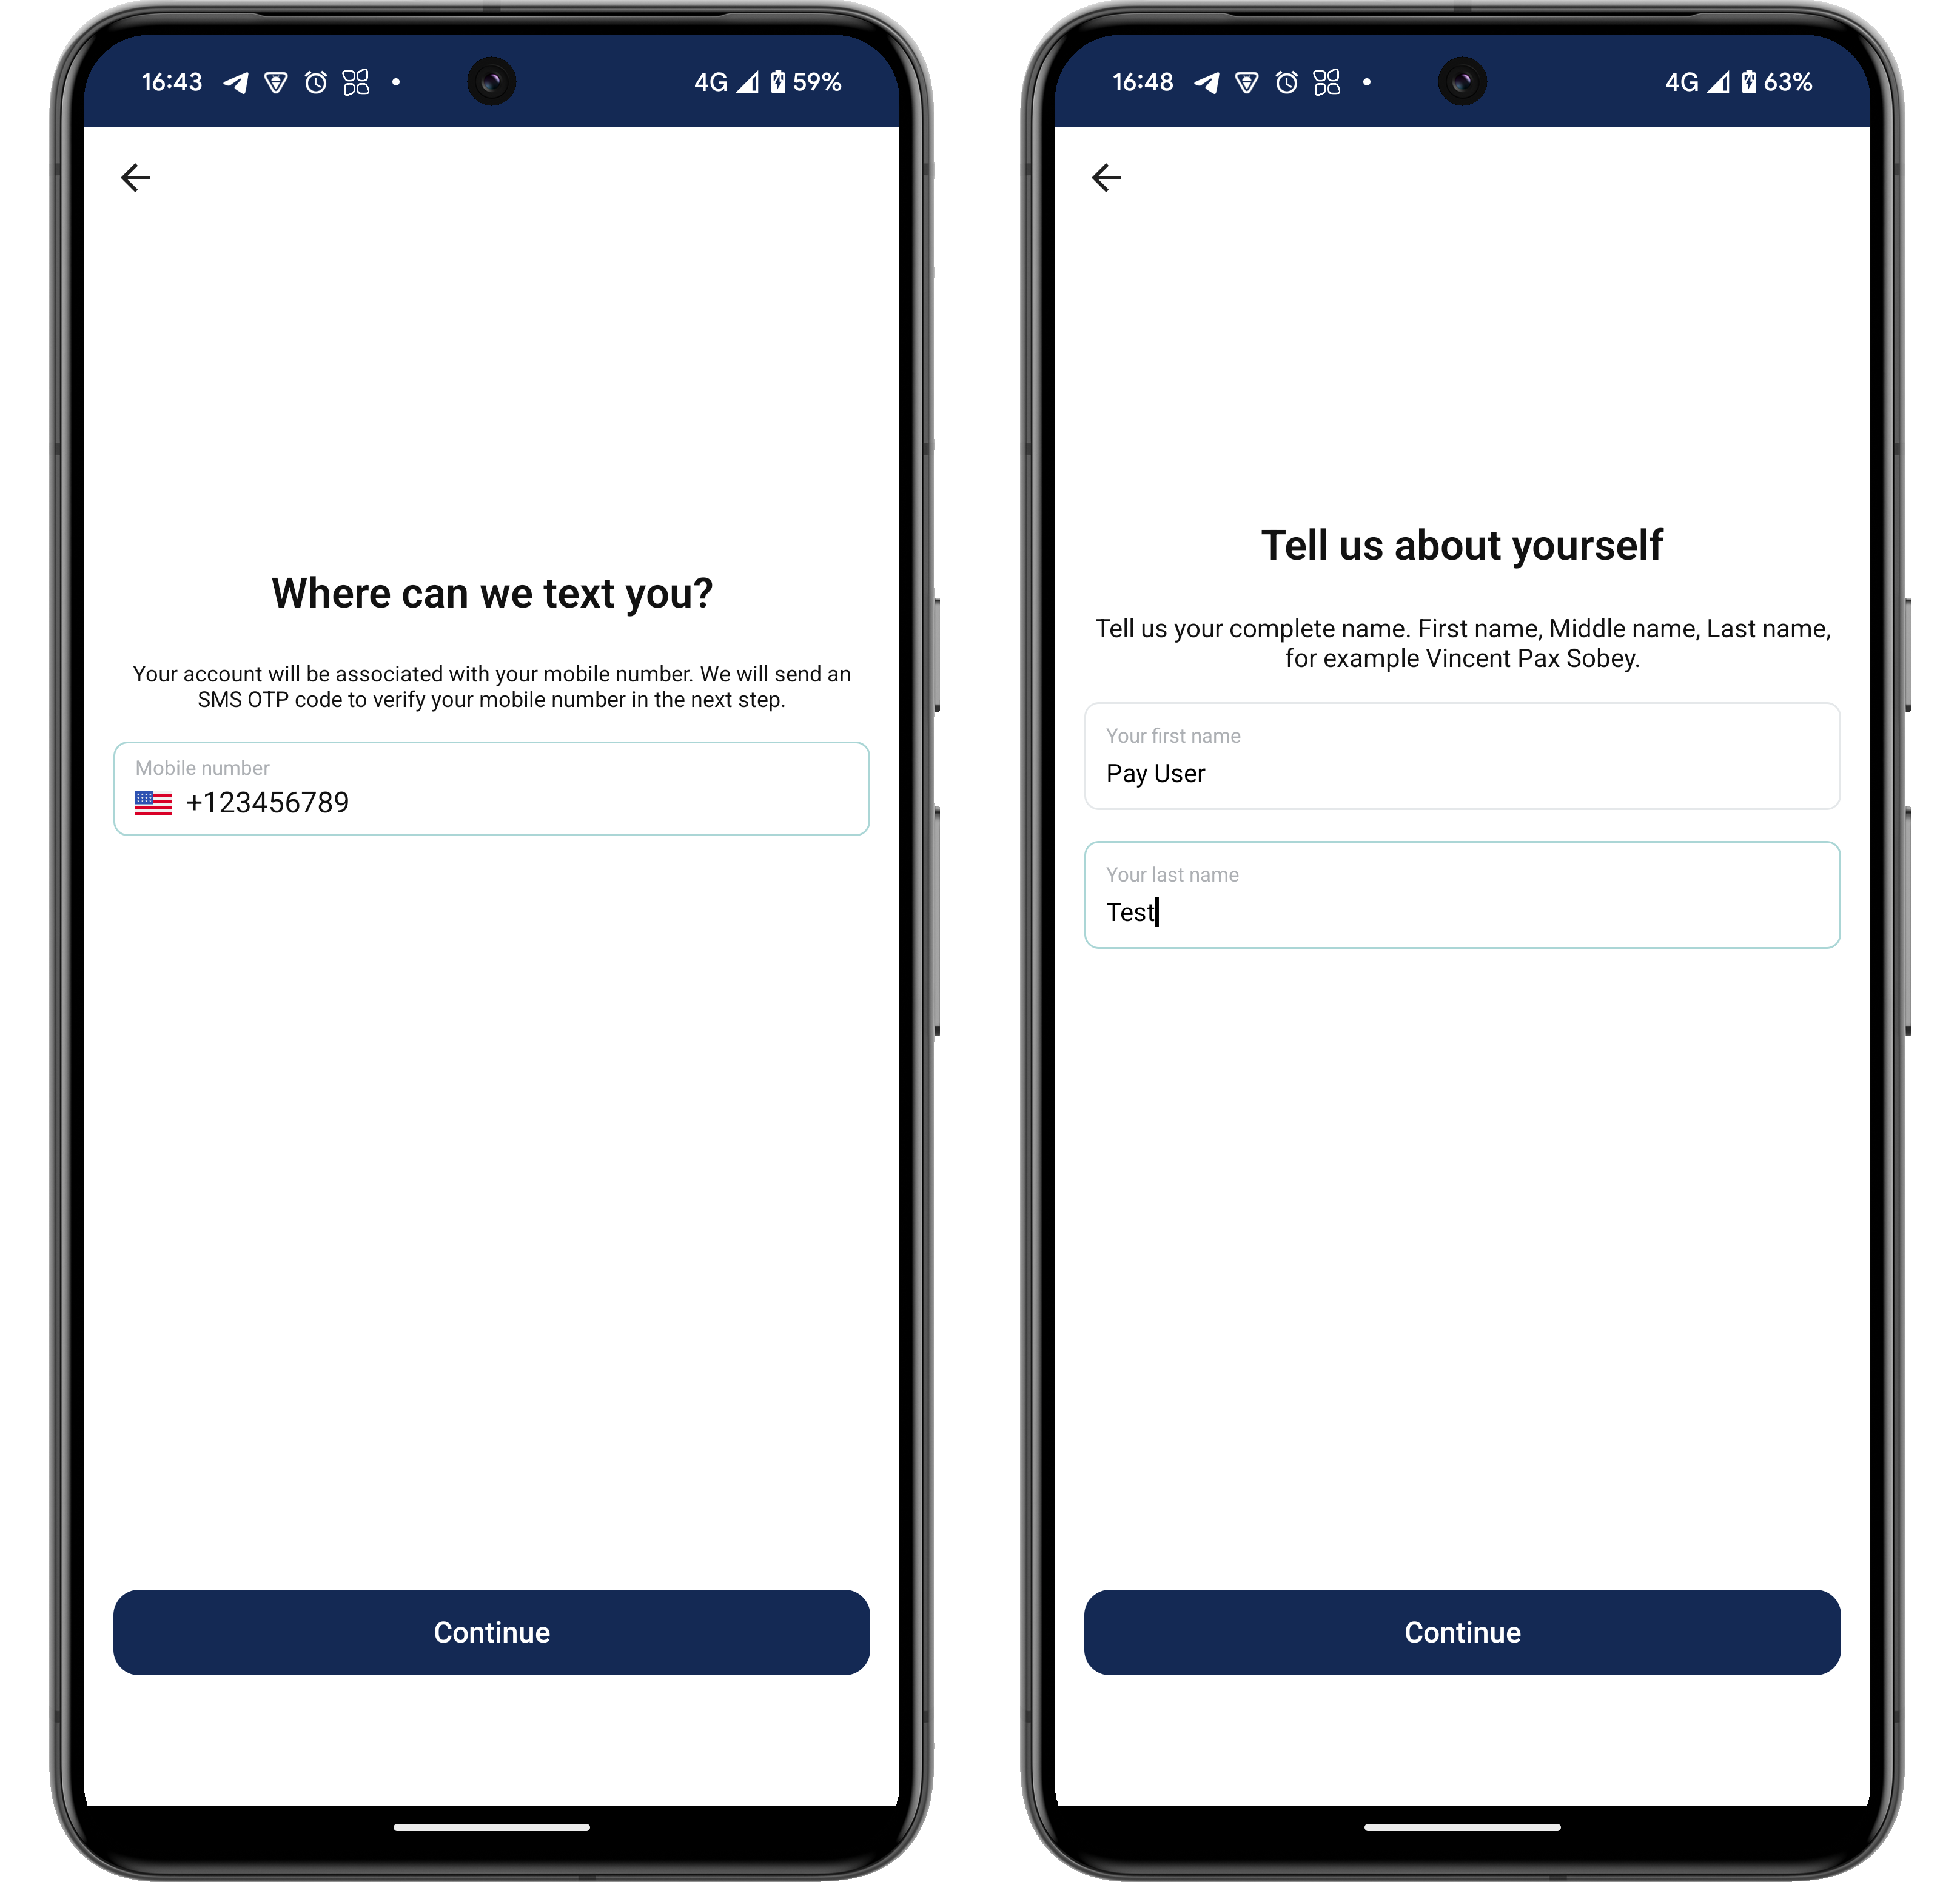
The SDK aims to simplify the registration process, so the first call already accepts a phone number to which the OTP verification code will be sent.
// Create a signup request with the user's phone number
val signupRequest = StartSignupRequest(phoneNumber = "+1234567890")

// Start the signup flow
try {
    val signupResponse = vipasoPay.managedAuth.startSignupFlow(signupRequest)
    // Success: you need to use signupResponse.flowId in the next call
    val flowId = signupResponse.flowId
} catch (e: Throwable) {
    when (e) {
        is OtpException -> {
            // Error: the OTP code could not be delivered
        }
        else -> {
            // Error: any other error, server or network errors
        }
    }
}
If you debug your networking calls, you should see the following traffic:
- HTTP request and response for retrieving the flow id in the background:
GET /a/self-service/registration/api HTTP/1.1HTTP/1.1 200 OK
Content-Type: application/json; charset=utf-8
{
"id": "ef23c1db-0000-4022-873c-cf26fc1372fa",
...
}- HTTP request and response for sending the OTP code in the background:
POST /identity/verification/flow/phone HTTP/1.1
Content-Type: application/json
{
  "phoneNumber": "+1234567890",
  "phoneType": "PRIMARY",
  "flowId": "ef23c1db-0000-4022-873c-cf26fc1372fa",
  "flowType": "REGISTRATION"
}
HTTP/1.1 201 CreatedExample screenshots from our development application:
2. Verifying the OTP Code
Once the OTP arrives, you need to verify it in our system. You will also need to forward the flow identifier that your first response returned.
// Create a verification request with the flow ID and OTP code
val verifyRequest = VerifyPhoneNumberRequest(
    flowId = "ef23c1db-0000-4022-873c-cf26fc1372fa",
    otp = "123456"
)

// Verify the phone number
try {
    val verifyResponse = vipasoPay.managedAuth.verifyPhoneNumber(verifyRequest)
    // Success: returns the same flowId
    val flowId = verifyResponse.flowId
} catch (e: Throwable) {
    // Error: any server or network error
}
HTTP request and response happening in the background:
PATCH /identity/verification/flow/phone HTTP/1.1
Content-Type: application/json
{
  "phoneType": "PRIMARY",
  "flowId": "ef23c1db-0000-4022-873c-cf26fc1372fa",
  "otp": "123456",
  "flowType": "REGISTRATION"
}
Actual HTTP response in the background:
HTTP/1.1 200 OK
Content-Type: application/json;charset=UTF-8
{
"message": "Phone verified successfully"
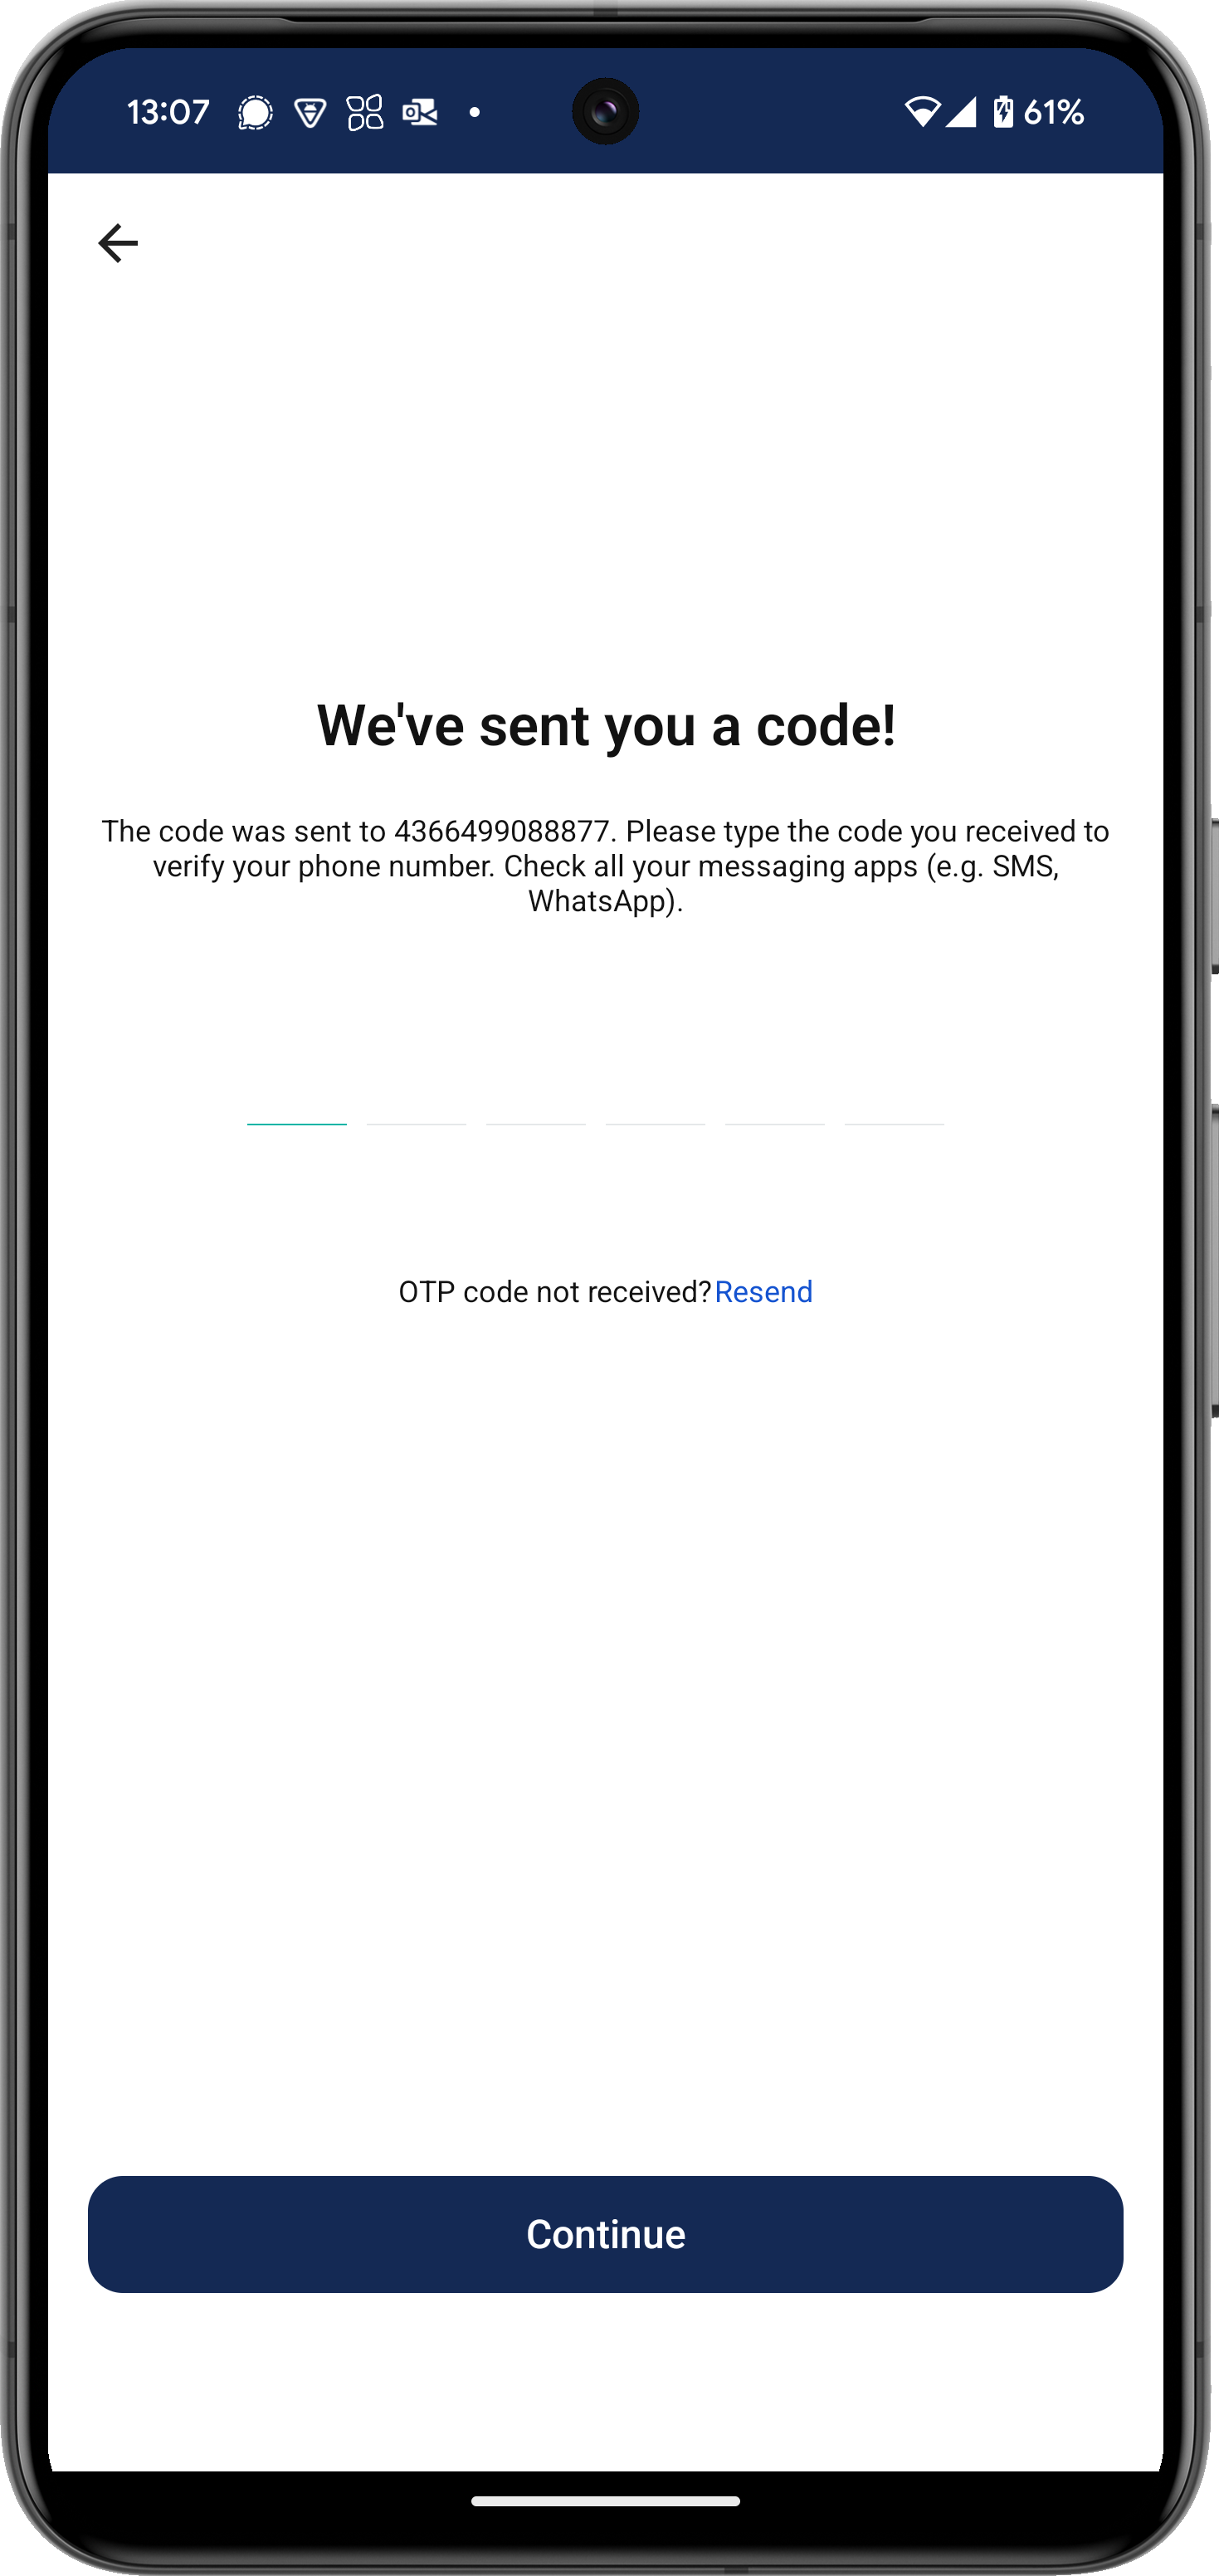
}Example screenshots from our development application:
3. Decorating the Flow with User Information and Finalizing Registration
Once the phone number is verified, you can send the gathered user information and finalize the flow.
// Create a finalize request with all the user information
val finishRequest = FinishSignupRequest(
    flowId = "ef23c1db-0000-4022-873c-cf26fc1372fa",
    password = "secure_password",
    email = "[email protected]",
    firstName = "John",
    lastName = "Doe",
    phoneNumber = "+1234567890"
)

// Finalize the signup flow
try {
    val signupResult = vipasoPay.managedAuth.finalizeSignupFlow(finishRequest)
    // Success: returns the completed flow ID
    val completedFlowId = signupResult.flowId
} catch (e: Throwable) {
    // Error: any server or network error
}
HTTP request and response in the background:
POST /a/self-service/registration?flow=ef23c1db-0000-4022-873c-cf26fc1372fa HTTP/1.1
Content-Type: application/json
{
  "method": "password",
  "traits": {
    "name": {
      "first": "John",
      "last": "Doe"
    },
    "phone": "+1234567890"
  },
  "password": "secure_password"
}
HTTP/1.1 200 OK
Content-Type: application/json; charset=utf-8
{
"session_token": "vip_st_VRRNobsaHTz3sHGqkWbk5JAV11e1OaBO",
"session": {
"identity": {
"id": "9a8cbfb3-87bd-0000-b48d-2569b1b43386",
...
},
...
},
...
}Note: In the end, the SDK will automatically generate and save a local key pair and send the public key to the backend. This needs to happen for the user to be considered logged in. You will see a PUT request to /identity/pki/client/certificates at the end of the flow.
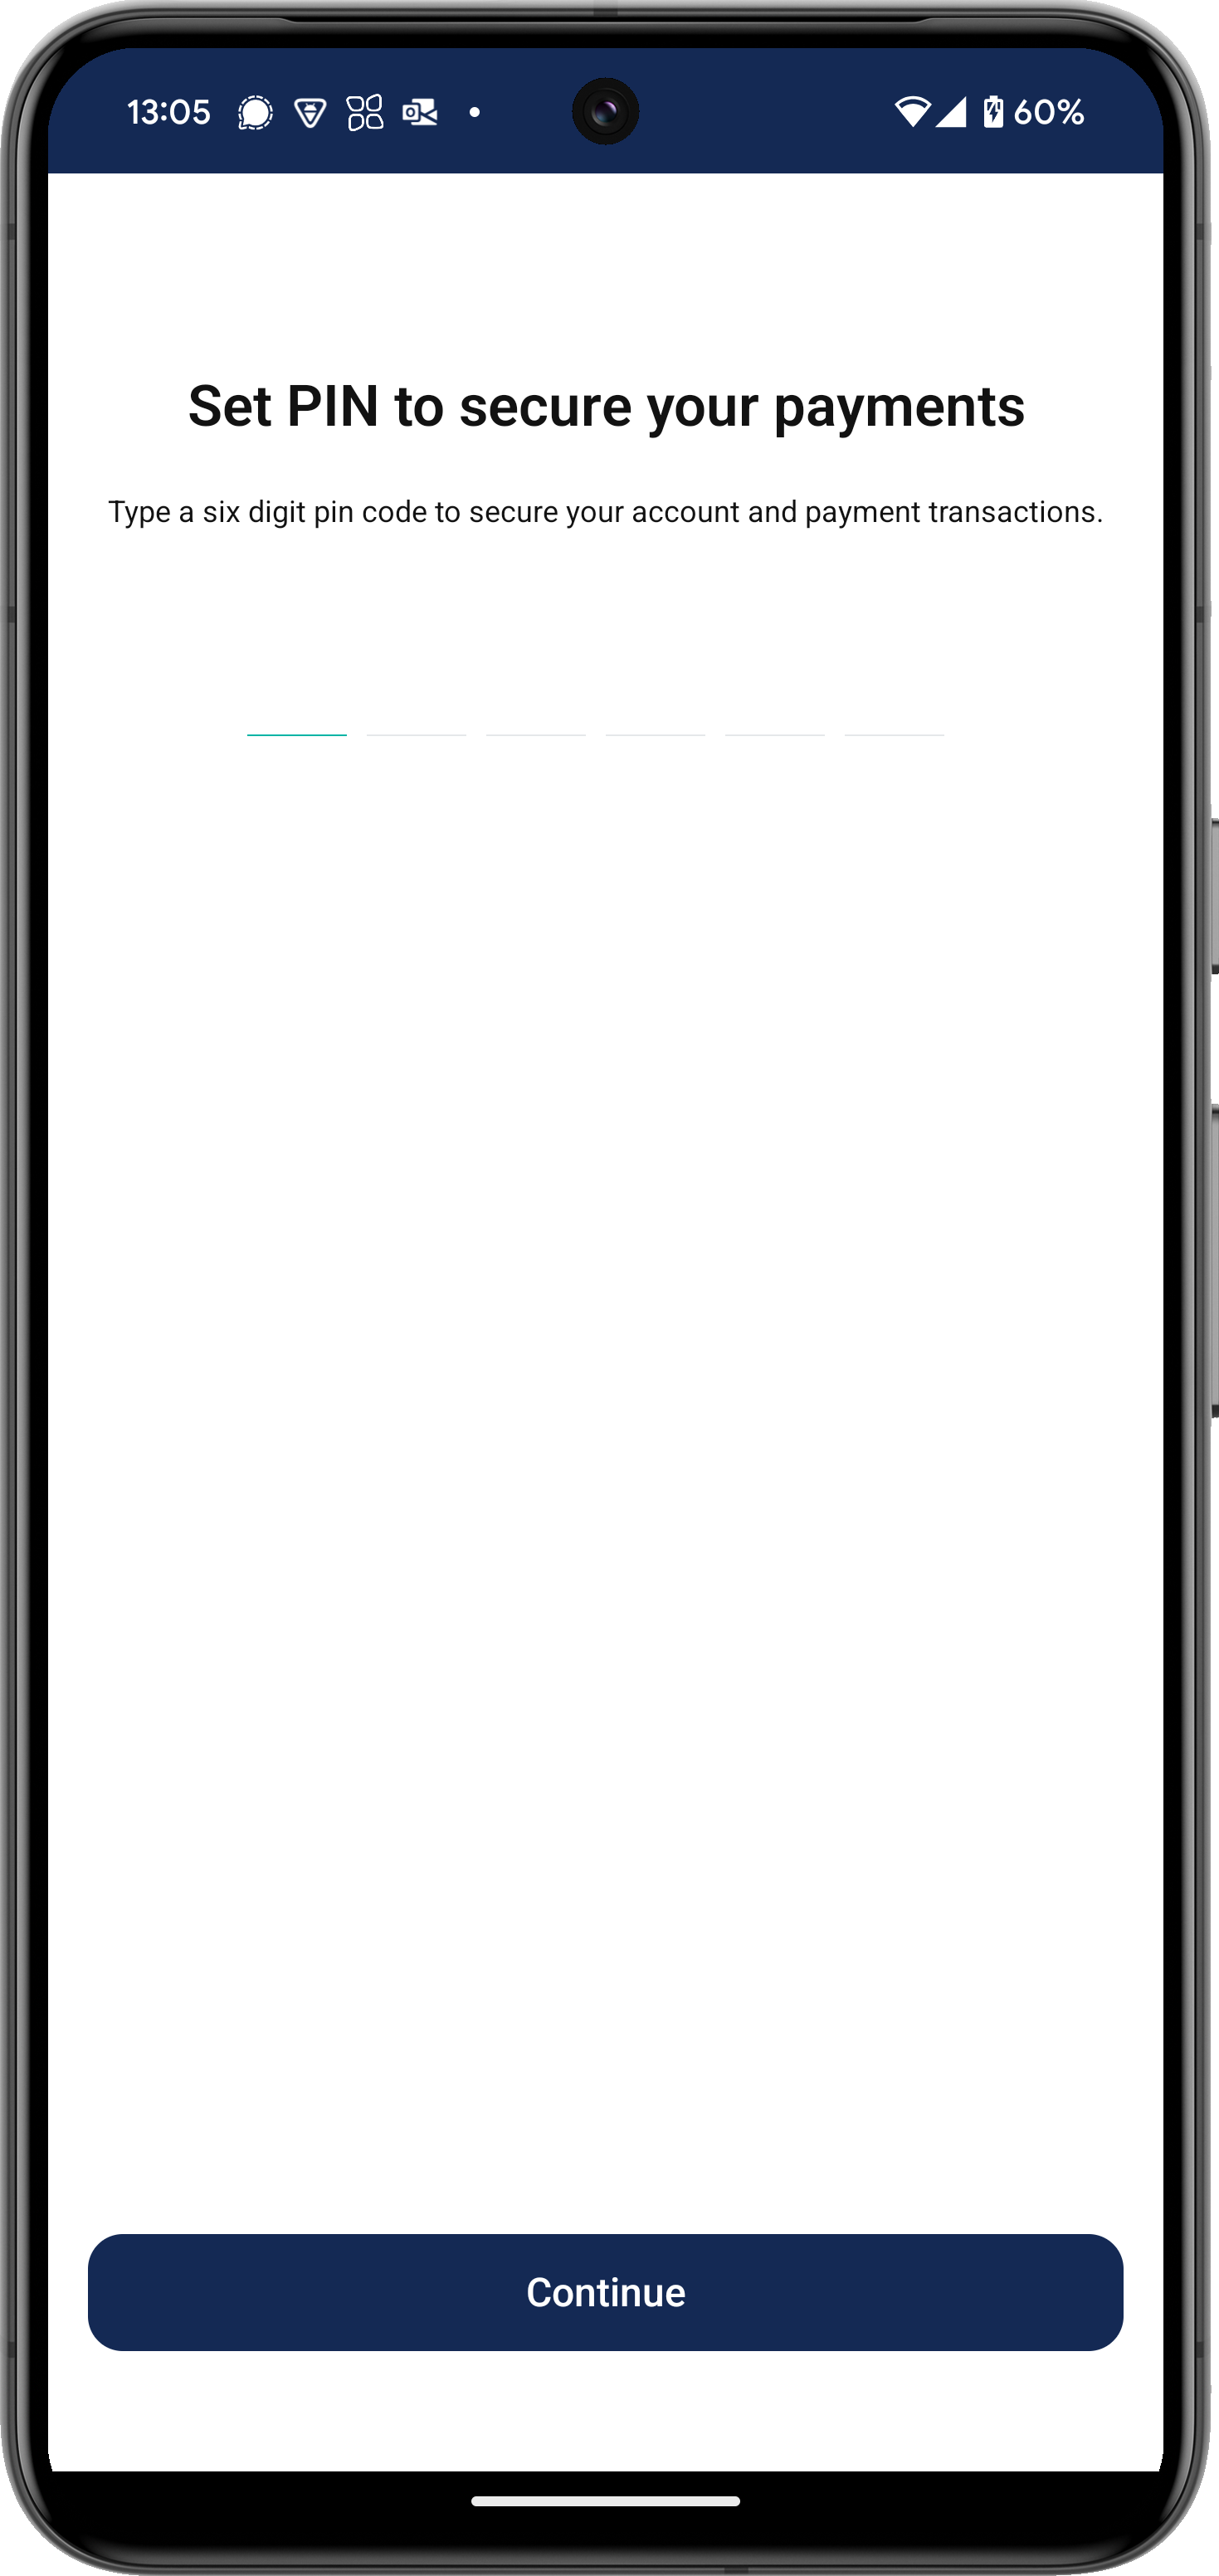
Example screenshots from our development application:
4. Observing Authentication State Changes
Important: The SDK will not expose the session token to the client side. Instead, it will store it internally and emit updates to notify the app about the changed authentication state.
You can observe login state changes using the getUserLoginState flow:
// Collect login state updates in a coroutine scope
lifecycleScope.launch {
    vipasoPay.user.getUserLoginState().collect { loginState ->
        when (loginState) {
            is LoginState.LoggedIn -> {
                // Your user is logged in
            }
            is LoginState.NotLoggedIn -> {
                // Your user is logged out (can be automatic after 401 or manually calling logout)
                // Clean up any user-specific data and redirect to your login screen
            }
        }
    }
}
Updated 8 days ago