Online Payment
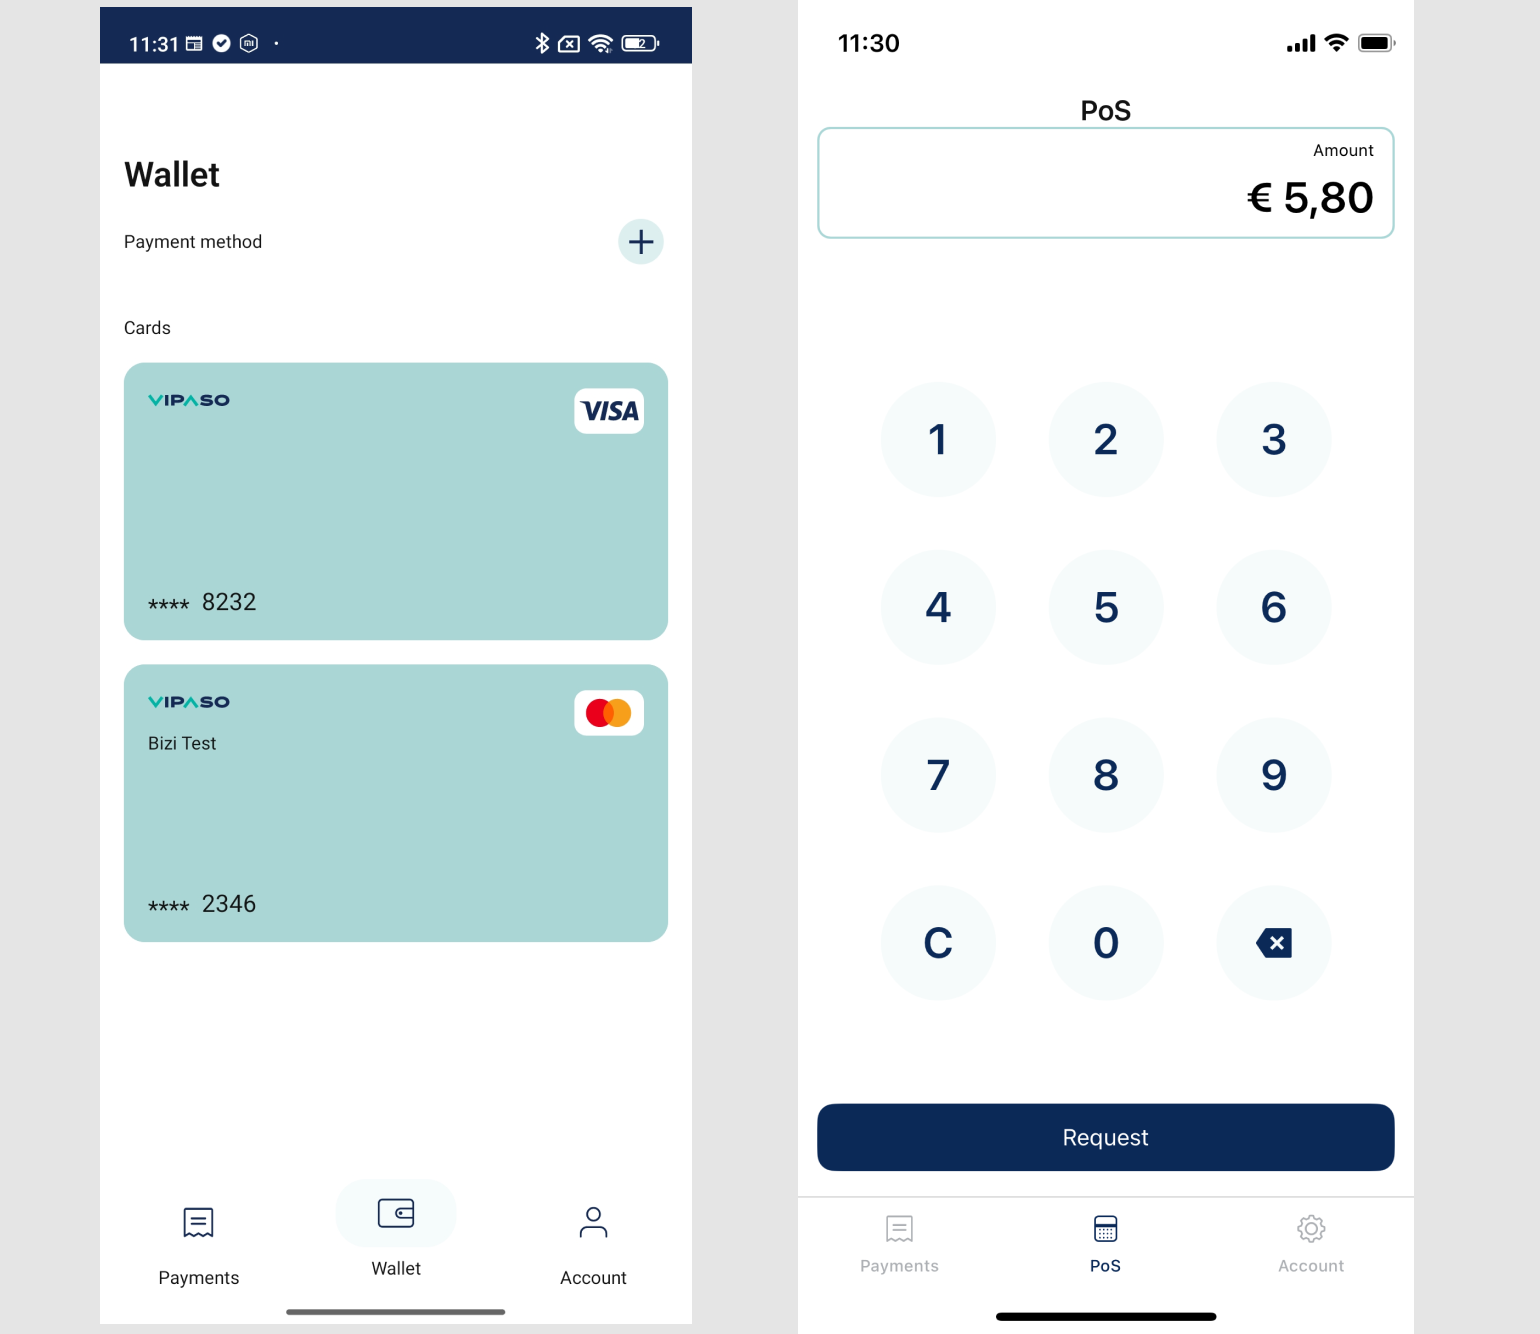
Arguably the most important feature of the SDK is to execute payments between the PoS and Pay apps over BLE. In the online payment use case, in order to make a successful payment, you will need:
- A logged-in PoS user (merchant)
- A logged-in Pay user (customer) with at least one valid instrument
The APIs are a bit different on Android and iOS, but the idea is the same. When you enter the desired amount and select Pay:
- The PoS side creates a new payment instance on the backend and starts advertising its ID over BLE
- The Pay side is scanning via BLE, receives the payment request and can react to the PoS side
- Pay then executes the payment request on the backend
- Lastly both sides poll the payment details from the backend and can react to success or error states separately
Let's check each step in more detail.
1. Pay: Start Scanning
The flow has two steps on iOS. You need to connect to the PoS side via BLE and register as a payment receiver to be notified about any payment requests coming from PoS.
On Android you start bluetooth scan and receive a completable payment response that includes data on payment and a call to notify server on payment result.
vipasoPay.connectBLE { [weak self] result in
    switch result {
    case .success(let response):
        // Success: connected, start listening for payments after the connection succeeds
        vipasoPay.setupBLEPaymentReceiver { result in
            switch result {
            case .success(let response):
                // Success: response wraps the payment identifier
            case .failure(let error):
                // Error: BLE error
            }
        }
    case .failure(let error):
        // Error: connection error
    }
}
val response = vipasoPay.startBLE()
if (response.data != null) {
  // Success: requested payment's id will be in the wrapped response data
  // Also inform payment that payment was accepted/rejected
  response.data.onComplete(true)
} else {
  // Error: message is in response.error?.message
}
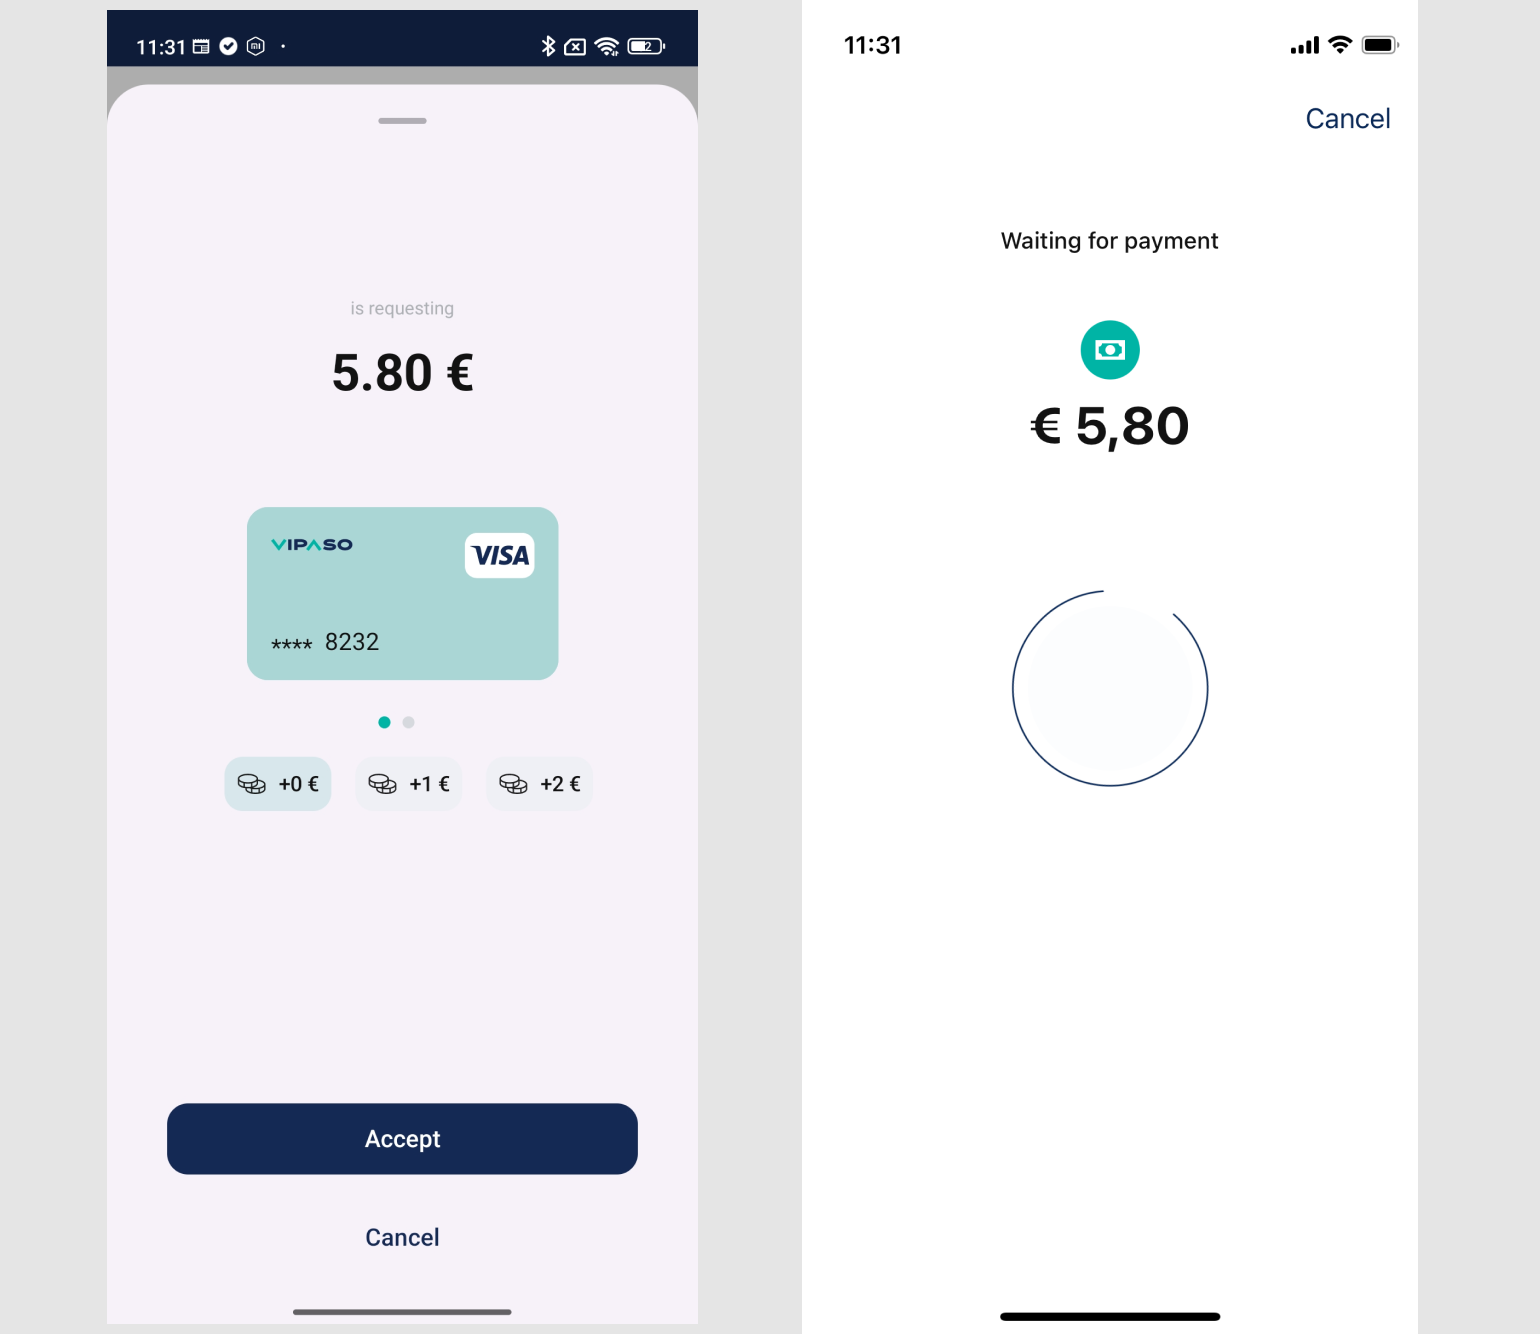
Example screenshots from our development application:

2. PoS: Start Payment
When the merchant requests a payment, two things will happen:
1. Getting a new payment ID from the backend
You need to set the expected payment details and the SDK will return a payment ID.
let request = InitiatePaymentRequest(
    amount: "10.00",
    currency: "EUR"
)
vipasoPOS.initiatePayment(request: request) { result in
    switch result {
    case .success(let response):
        // Success: payment ID is in response.paymentID
    case .failure(let error):
        // Error: error message detailing the issue
    }
}
val request = InitiatePaymentRequest(amount = amount, currency = currency)
return vipasoWrapper.vipasoPos.initiatePayment(request).paymentId
If you debug your networking calls, you should see the following traffic:
POST /paga/payment HTTP/1.1
Content-Type: application/json
{
  "currency": "EUR",
  "amount": "5.8"
}
HTTP/1.1 200 OK
Content-Type: application/json;charset=UTF-8
{
  "paymentId": "01936d84-42c5-747f-8c5c-f374588cdbf3"
}
2. Requesting payment execution via BLE
You can now advertise the payment ID so any Pay app who is close enough can receive the payment request.
let paymentRequest = PaymentRequest(paymentID: paymentID)
vipasoPOS.initiateBLEPayment(request: paymentRequest) { result in
    switch result {
    case .success(let response):
        print("success: \(response)")
    case .failure(let error):
        print("error: \(error.localizedDescription)")
    }
}
val request: PaymentRequest = PaymentRequest("paymentId")

val response = vipasoPos.initiateBLEPayment(request)
if (response.data != null) {
    print(response)
} else {
    print(response.error?.message)
}
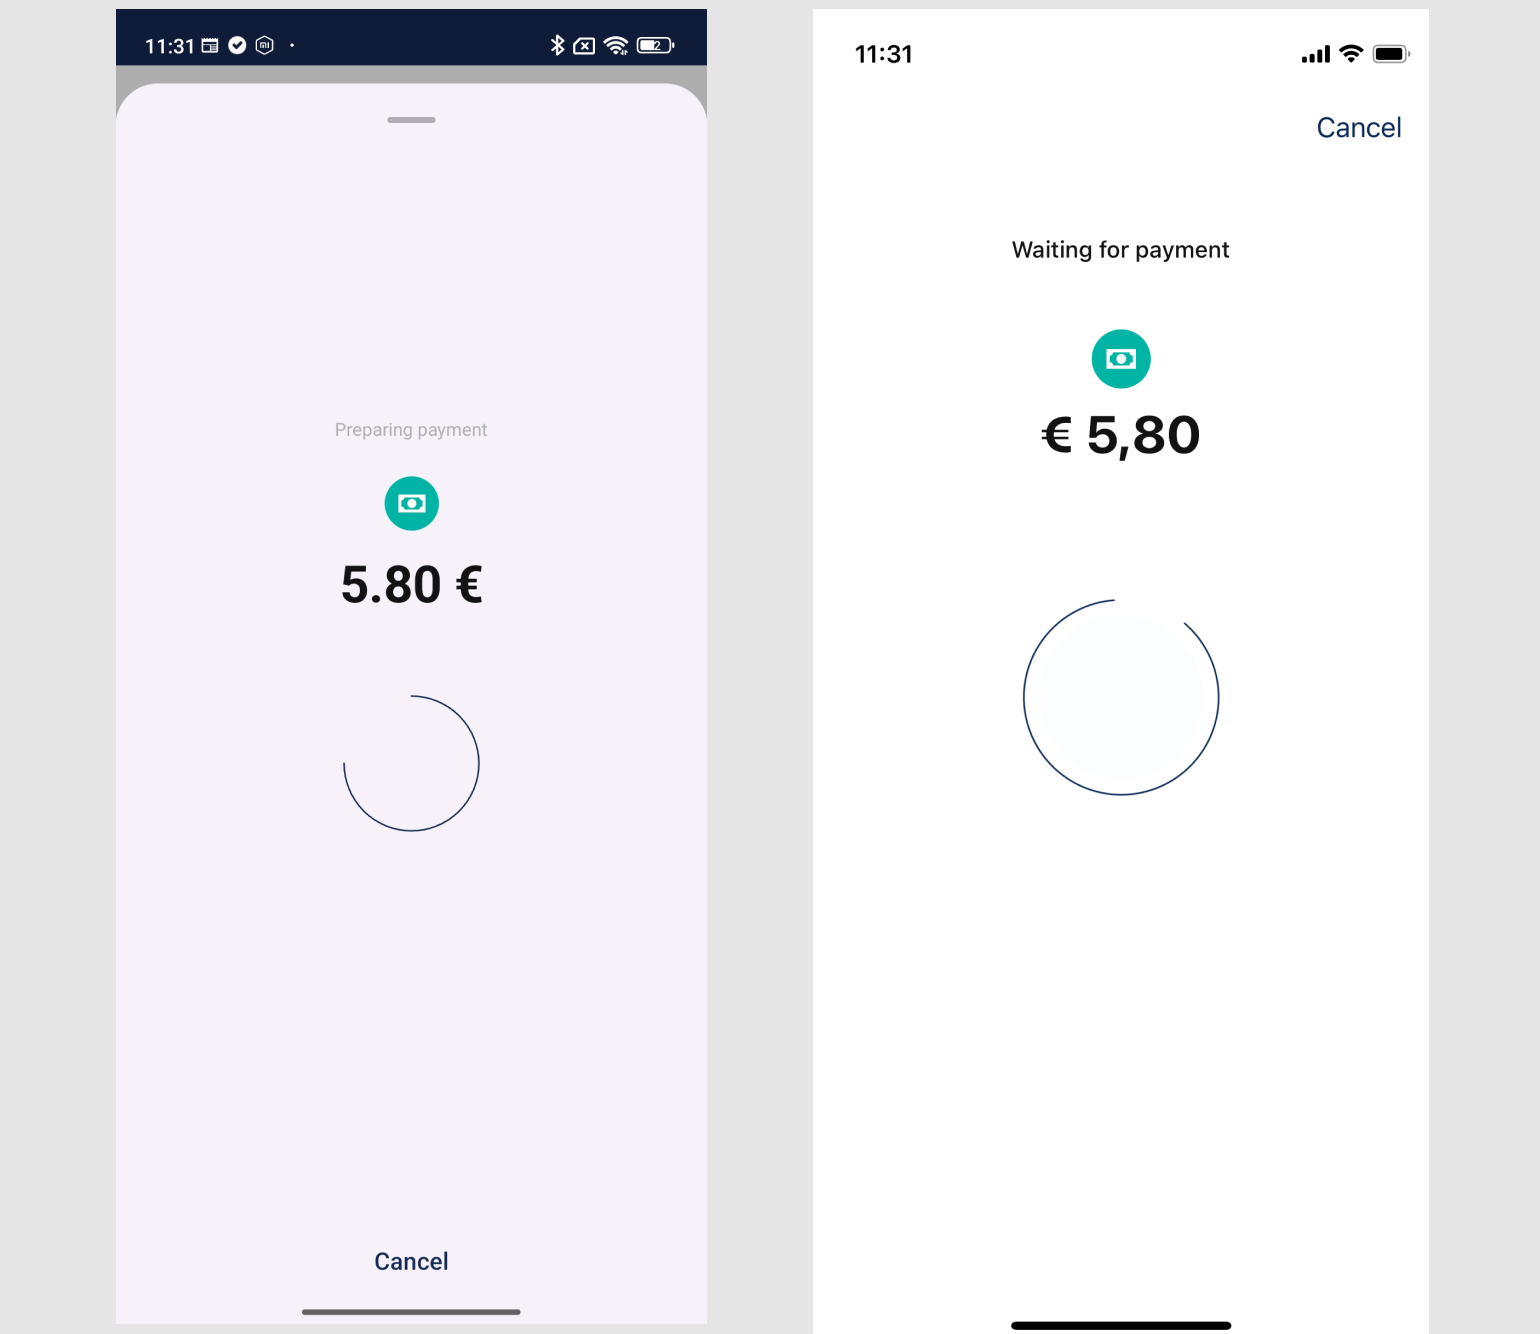
Example screenshots from our development application:

3. Pay: Executing Payment
When the payment ID arrived successfully on the Pay side, you can fetch its details and display a screen to the user where they can select the instrument they want to pay with and an optional tip.
After they accept, you can use the SDK to execute the payment.
let request = ExecutePaymentRequest(
    paymentID: paymentID,
    instrumentID: instrumentID,
    invoiceAmendments: nil,
    lang: .en
)
vipasoPay.executePayment(request: request) { result in
    switch result {
    case .success(let response):
        // Success: response.payment contains all details
    case .failure(let error):
        // Error: any server or generic error
    }
}
val request = ExecutePaymentRequest(
    paymentID: "paymentId",
    instrumentID: "instrumentID",
    lang: "EN",
    confirmationTimestamp: "timeStamp now"
)
val response = vipasoPay.executePayment(request)
if (response.data != null) {
    // Success: response.payment contains all details
} else {
    // Error: any server or generic error
}
If you debug your networking calls, you should see the following traffic:
PATCH /paga/payment HTTP/1.1
Content-Type: application/json
{
  "confirmationTimestamp": "2024-11-27T12:09:00.152Z",
  "instrumentId": "01936D85-F1CA-788B-0000-8DC7AD80BE92",
  "tip": "0.00",
  "paymentId": "01936d84-42c5-747f-8c5c-f374588cdbf3"
}
HTTP/1.1 200 OK
Content-Type: application/json;charset=UTF-8
{
  "paymentId": "01936D86-3C08-75F0-9197-6A361F05A28F",
  "amount": "5.8000",
  "currency": "EUR",
  "tip": "0.0000",
  "pagaStatus": "EXECUTED",
  "unifiedStatus": "COMPLETED",
  ...
}
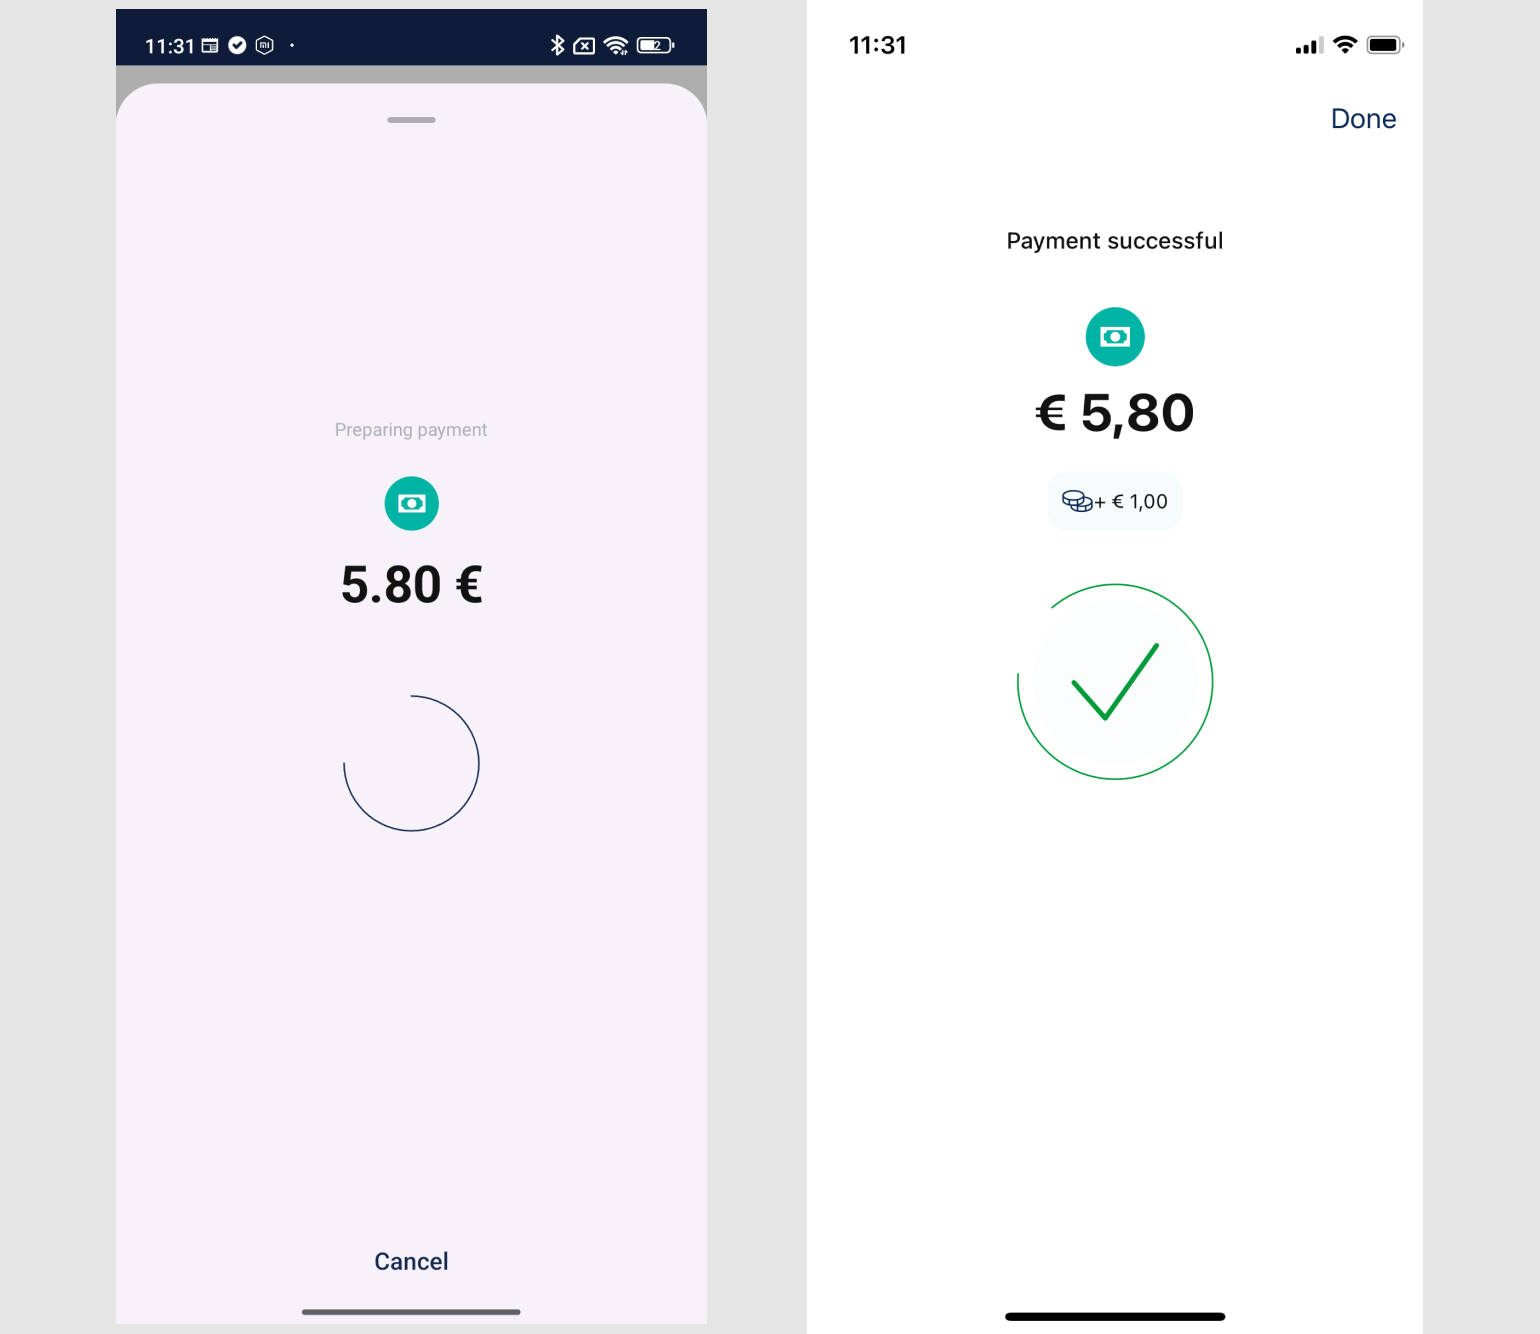
Example screenshots from our development application:

4. Pay/PoS: Polling Payment details
Since payment execution is asynchronous and can take some time, we recommend polling the payment details every two seconds:
Once the status of the payment is "final", you can update your screen accordingly. Possible states are detailed in the VipasoPayment model's unified status property:
"INITIATED"     // Payment execution started
"IN_PROGRESS"   // Payment execution ongoing
"COMPLETED"     // Payment execution finished successfully
"FAILED"        // Payment execution failed
"CANCELLED"     // Payment execution was cancelled
If you debug your networking calls, you should see the following traffic:
GET /paga/payment/01936D84-42C5-747F-8C5C-F374588CDBF3 HTTP/1.1
HTTP/1.1 200 OK
Content-Type: application/json;charset=UTF-8
{
  "paymentId": "01936d84-42c5-747f-8c5c-f374588cdbf3",
  "amount": "5.8000",
  "currency": "EUR",
  "tip": "0.0000",
  "pagaStatus": "EXECUTED",
  "unifiedStatus": "COMPLETED",
  ...
}
Example screenshots from our development application:

Updated 6 months ago
